There’s just something about a smokin’ hot oven that makes garlic and vegetables taste out of this world.
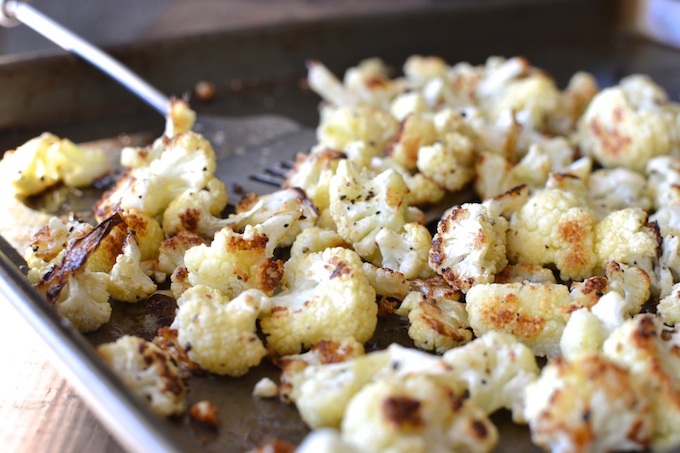
Just that word…ROASTED…you know you’re going to get lots of delicious, caramelized flavor that accompanies anything and everything that’s been roasted.
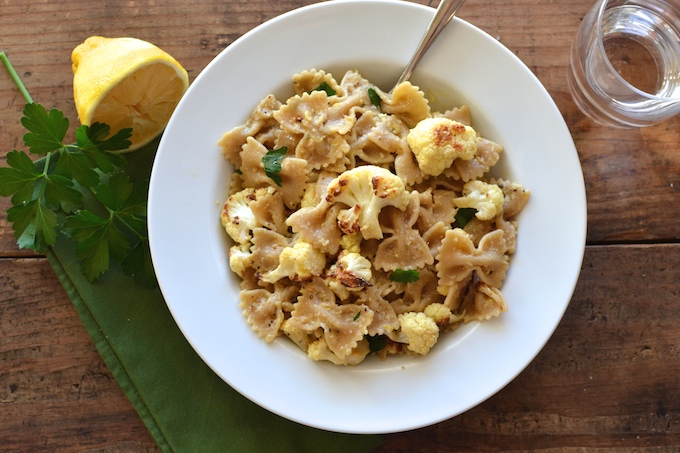
See all that roasted goodness? Brown = flavor when veggies get roasted.
I have to be careful with my timing for this recipe. If this roasted cauliflower sits for too long while I’m waiting for the pasta to cook, I end up walking by and popping it in my mouth like popcorn. It slowly disappears and pretty soon we just have roasted garlic pasta.
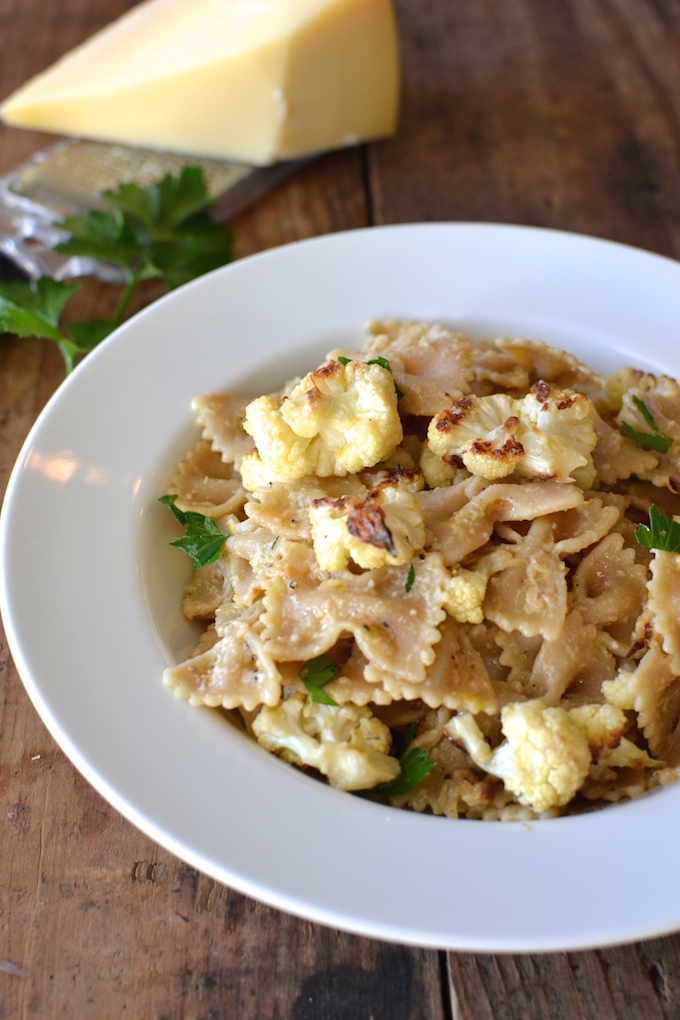
Let’s face it, I would probably love that too because, well, it’s pasta. I’m one of those people that could eat pasta any day of the week. Roasted garlic pasta sounds just fine to me. The flavor in this dish here comes not only from the roasted cauliflower, but that roasted garlic turned roasted-garlic-lemon-cheese-sauce that covers the pasta. Oh, geez.
I first made this for my husband, then boyfriend, back in 2009, the night before his second marathon here in Chicago.
He beat his previous year’s time by 30 minutes…
I patted myself on the back.
Em loves pasta, or “noo-noos” as she affectionately calls noodles, as much as I do, so I figured she’d love this. Boy, was I right. She gobbled this down. I mean who doesn’t love noo-noos and “little white trees”? Especially little white trees that have been roasted…
Little Hands Can…
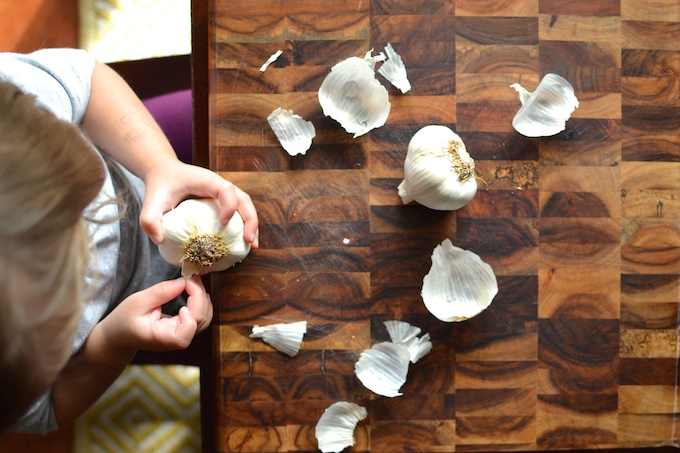
- Peel the skin off of the heads of garlic
- Sprinkle the garlic heads with olive oil, salt and pepper
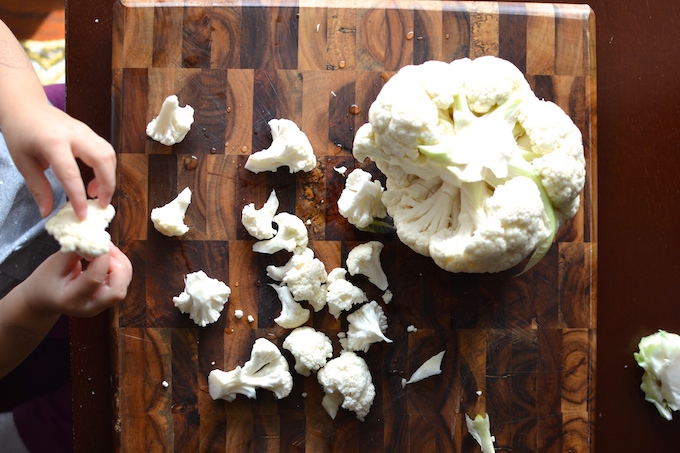
- Break cauliflower into small florets
- Squeeze the roasted and cooled garlic cloves into a bowl
- Mash the garlic cloves and mix with other “sauce” ingredients
- Older kids can grate the parmesan cheese
- Toss pasta with cauliflower and sauce
- 2 heads of garlic (not individual cloves, whole heads)
- ¼ cup extra virgin olive oil, plus more for drizzling
- salt and pepper
- 1 lemon (you'll need both the zest and the juice)
- 1 cup freshly grated parmesan cheese, divided
- 1 medium/large head of cauliflower
- ½ teaspoon garlic powder
- 1 pound of pasta, any short shape
- 1 tablespoon chopped fresh parsley
- Preheat oven to 400 degrees.
- Peel the papery skin off both heads of garlic.
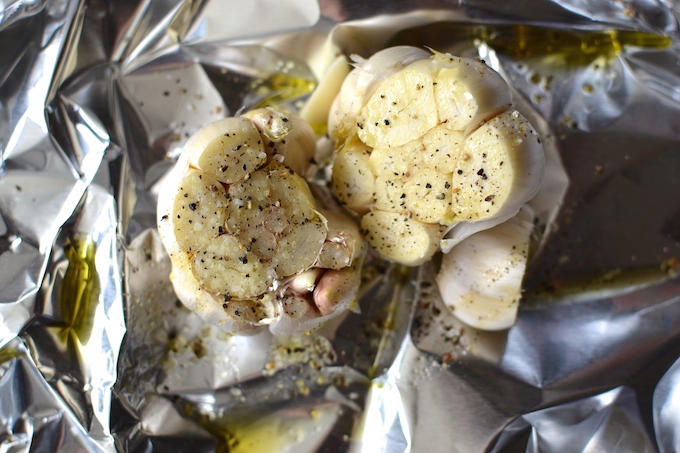
- Cut the top ¼ off of each head, exposing the cloves. Place heads cut side up on a large piece of aluminum foil.
- Drizzle garlic heads with olive oil and sprinkle with salt and pepper. Fold aluminum foil around the garlic and seal on all sides to make a little envelope or packet.
- Put the foil packet on a small baking sheet in the hot oven and roast for 1 hour. When done, remove the foil packet, open it and let the garlic cool.
- When garlic is cool, squeeze the soft cloves into a medium bowl. Mash with a fork until a paste forms. Mix in ¼ cup olive oil, the zest and juice of ½ of the lemon (you can add more if you prefer a stronger lemon flavor), and ½ cup of parmesan cheese. Set aside.
- While the garlic is roasting, cut or break the cauliflower into small florets (for maximum brown color on every piece!). Place the florets on a large baking sheet. Drizzle with olive oil (don't be afraid to use 2-3 tablespoons, you don't want dry cauliflower) and sprinkle with salt, pepper and garlic powder.
- Raise oven temperature to 425 degrees and roast the cauliflower for 20-25 minutes, stirring halfway, until the florets are browned all over.
- While the cauliflower is roasting, boil a large pot of water. Salt the water and cook your pasta for 8-10 minutes, or until it's done to your liking. Before draining the pasta, reserve 1 cup of pasta water.
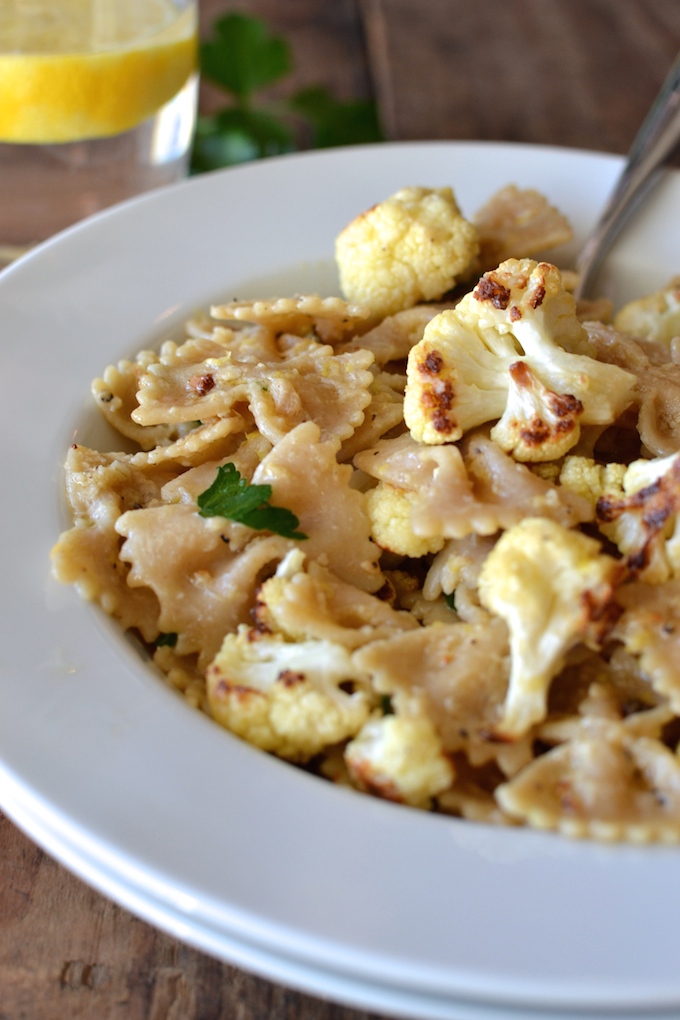
- Toss the cooked, drained pasta with the remaining ½ cup of parmesan cheese, garlic/lemon sauce and roasted cauliflower. If the pasta seems dry, you can add enough of the reserved pasta water to make it creamier. Add salt and pepper to taste.
- Top with fresh parsley and serve.
If your hands smell like garlic after squeezing the garlic cloves from their skin, and you don't like it, rub your hands on the inside of a stainless steel sink before washing them with soap and water. It will remove the garlic smell.
Recipe inspired by Mel’s Kitchen Cafe and Cook’s Illustrated
On the Side
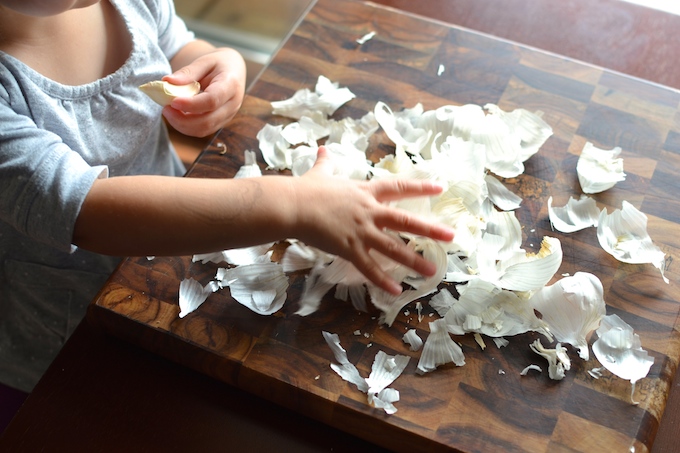
The papery, white pieces that you peeled off of the garlic before roasting is called the “skin” of the garlic. What else do you know that has skin? With this recipe, we’re learning a bit more about… skin!
Here are some conversation starters:
Skin, by definition, is an outer layer or covering. Many vegetables and fruits have skin! They’re sometimes called a “peel.” The skin, or peel, is oftentimes the part of the fruit or vegetable that has the most nutrients, so try eating the skin next time you have an apple or a cucumber.
Can you name some fruits and vegetables that have a skin? Which ones do you think have skin that is okay to eat? With which ones do you typically take the skin off? You’ll be surprised to learn that most fruit and vegetable skins are edible! (Some fruit skins that are inedible are mango, passionfruit, pineapple, lychee, avocado, pomegranate and dragonfruit).
Here are just some examples of fruits and vegetables that have skin (all of which are edible): apples, oranges, bananas, kiwi, peaches, watermelon, grapes, potatoes, peppers, zucchini, carrots, eggplant and cucumbers, and yes, even garlic and onions! You can throw the papery skins from garlic and onions into soups and stock to add extra flavor.
What else has skin? We do! All humans and animals have skin. Our skin is actually the largest organ in our bodies. It covers and protects everything inside of our bodies AND gives us our sense of touch.
Skin is also something that makes us unique and special. People have all different kinds of skin: different colors, different textures, some with wrinkles, some with freckles, some is dry, some have scars or birthmarks. Use this opportunity to talk with your child about our skin, how it makes us different from one another and how it makes us all human, as well.
As part of our learning about our skin, Em and I watched this great PBS video from Sesame Street featuring Lupita Nyong’o. Elmo and Lupita discuss their skin, and how much they love being in their skin, in all it’s different colors. Loved it.
For more scientific information related to skin, check out Kids Health.
Disclaimer: As with all of our recipes, my suggestions for how kids can help with a particular recipe are based on what has worked in our kitchen. Your child may be able to help more or less based on their age and/or ability.

 Carol says
November 6, 2015 at 6:08 AMSounds wonderful! Can’t wait to try it!
 Sally says
November 8, 2015 at 8:21 PMThank you, Carol!
 Linda toonen says
November 6, 2015 at 5:29 PMThe photography is amazing, Sally!!
 Sally says
November 6, 2015 at 7:48 PMThank you, Linda!
 Kristy says
November 7, 2015 at 7:30 AMI really love the education component to your blog Sally. What a fabulous tool for kids and parents. And I too am a pasta junkie. I could eat it every day for sure! This looks fantastic. Roasted cauliflower is one of our favorites. We’ve never had it with pasta though. Sounds great!
 Sally says
November 8, 2015 at 8:21 PMThank you so much, Kristy! I hope you give it a try. Thank you for your sweet compliment. There is so much to learn in the kitchen!
 Kumi says
November 10, 2015 at 1:43 PMJust made this and love it! My daughter is napping but cannot wait to have her try this when she wakes…if there is any left!
 Sally says
November 10, 2015 at 8:54 PMThank you, Kumi! So glad you liked it. Let me know what Ms. P thinks of it!