It’s that time of year… when oodles of squash recipes pop up all over your facebook feed and frequented recipe sites. This is no exception, but it may be THE one that makes you stop and say….ummm, yes. That is for dinner.
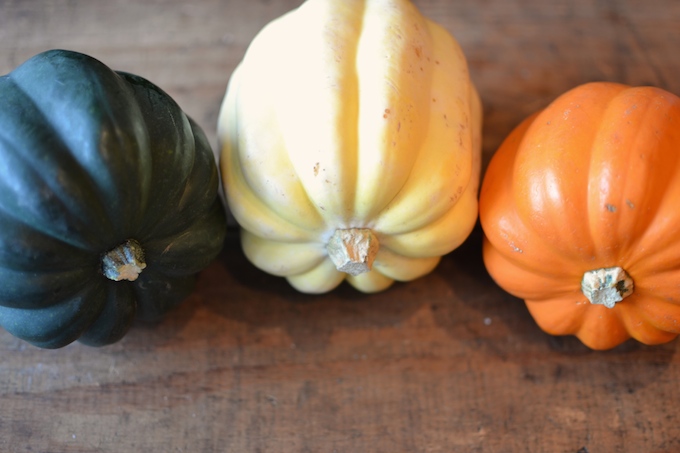
Side note: Did you know that acorn squash comes in many colors? I’ve only ever seen the usual dark green color, but this year, I found both orange and white acorn squash at my local store. You learn something new everyday!
In any color, here’s why you should make this squash tonight…
Easy: Cut the squash in half and scoop out the (minimal) seeds. No other cutting or peeling involved.
Beautiful: Each serving is it’s own little package that looks like a pretty flower on your plate next to whatever main dish you serve (perhaps a certain bird come late November?!).
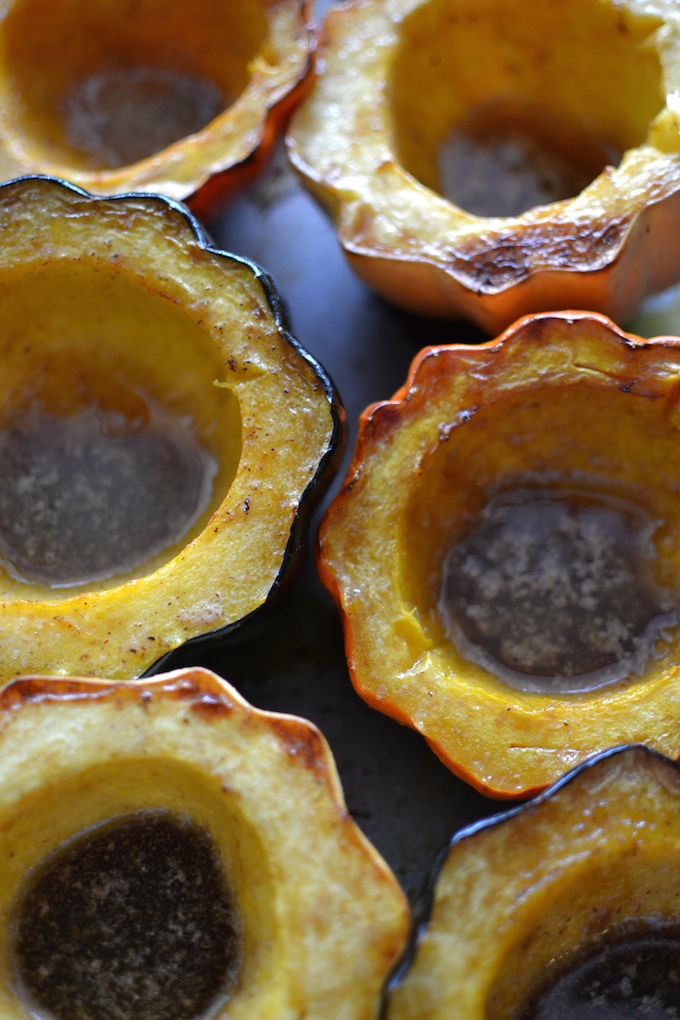
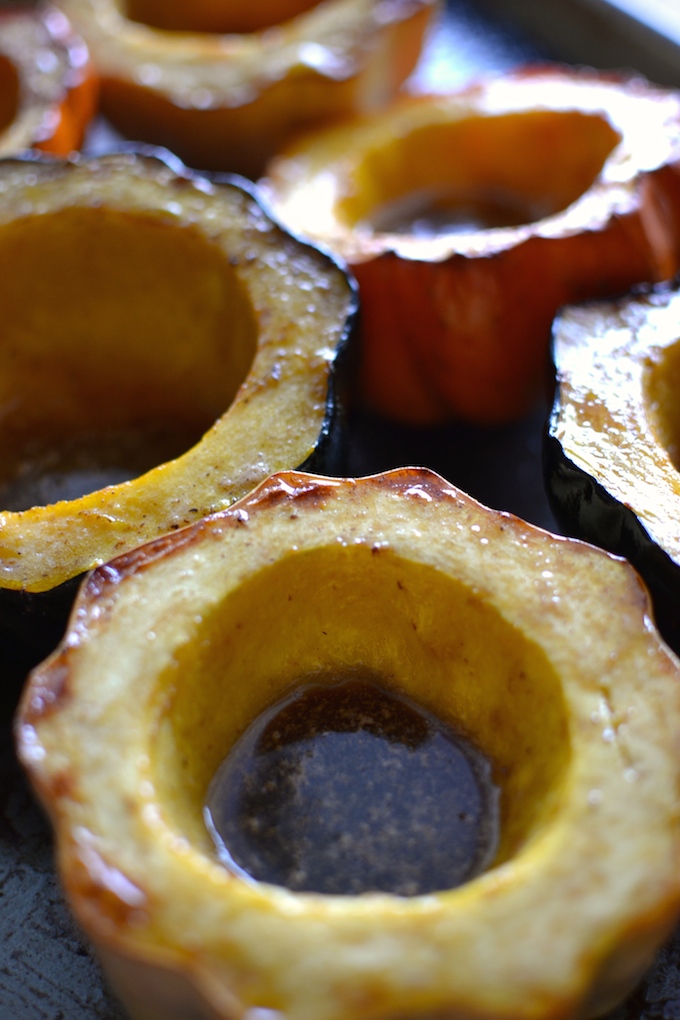
Delicious: Roasted squash flavor, with a little brown sugar butter “dip” for each spoonful.
Uh-huh, yep. You need to make this tonight.
At first try, Em didn’t love this one… I think because of the nutmeg. But she kept talking about it…”quash, quash.” So, we tried again. The second time she tried it, I left the nutmeg off of her half and she seemed to like it a little more. She quite honestly didn’t love it, but Jon and I ADORE this recipe, so you can be sure it’ll end up on her plate many more times before this fall is over. We’re going to make a squash lover out of her yet.
Little Hands Can…
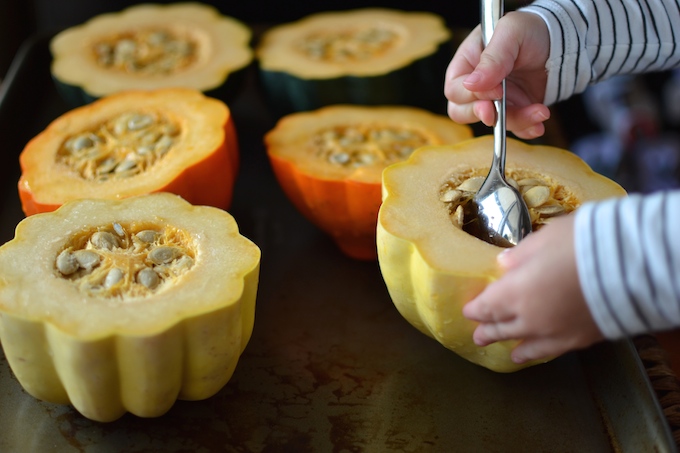
- Use a spoon, or clean fingers, to scoop the seeds out of the squash
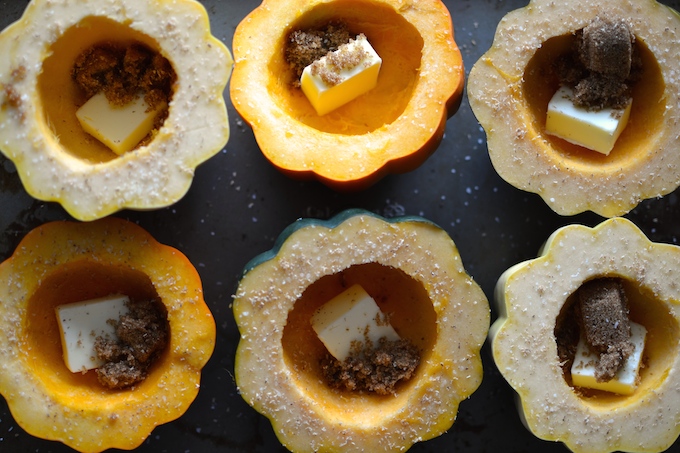
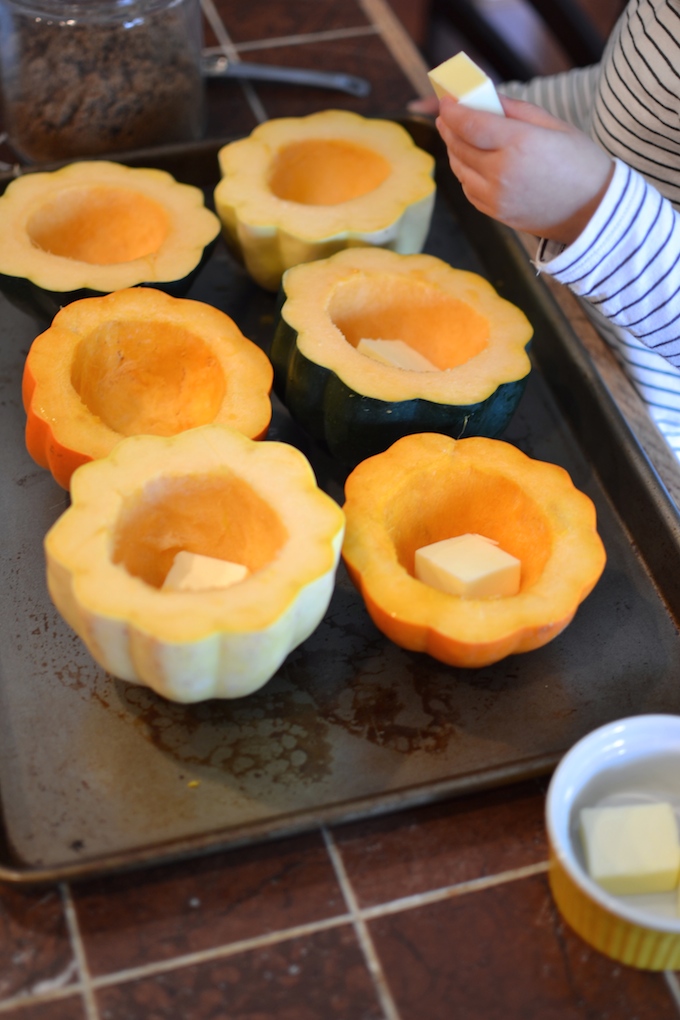
- Put butter pats into the squash cavities
- Spoon brown sugar into each squash cavity
- Sprinkle squash with salt and nutmeg
- 2 acorn squash, any color
- 4 Tablespoons butter
- 4 teaspoons brown sugar
- Sprinkle of salt
- Sprinkle of nutmeg
- Preheat the oven to 400 degrees.
- Wash each squash and cut them in half crosswise. Place the halves in a glass baking dish or on a baking sheet, covered in foil. You may need to cut a small slice off the bottom of the squash halves so they can sit upright in the baking dish.
- Using a spoon or clean hands, scoop the seeds out of the squash halves, taking care to remove all the seeds and stringy part of the flesh.
- Cut the butter into individual tablespoons. Place one tablespoon of butter in each cavity.
- Spoon one teaspoon of brown sugar into each cavity.
- Sprinkle the tops of each squash half with both salt and nutmeg.
- Bake for 45 minutes total; basting every 15 minutes with the brown sugar butter. (Basting: Remove the pan from the oven at the 15, 30 and 45 minute marks. Use a pastry brush or spoon to "baste" the squash halves with the brown sugar butter, both inside the cavity and around the tops of each half.)
- After 45 minutes, push a small knife into the squash flesh. It should be very soft. If you meet some resistance, bake for another 10-15 minutes, or until soft.
- Serve each person their own squash half. Use a spoon to scoop the yummy squash right out of it's pretty flower shell!
On the Side
Part math, part science experiment…let’s explore ESTIMATION using squash seeds! Before beginning, talk with your child about the idea of estimation. Estimation is a close guess of the measurement of something. What kinds of things can you estimate? Length, size, count, cost, distance, and weight are all examples of measurements that we can estimate by thinking about the actual value.
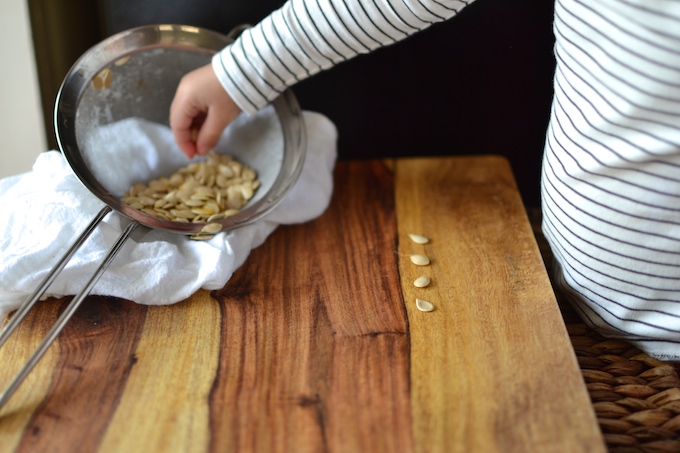
Acorn squash, like the ones we’re using in today’s recipe, have seeds inside. How many seeds do you think are inside? Invite your child(ren) to guess how many seeds are inside and write down their estimates. Now, cut only one squash open and count all the seeds inside (the seeds can be pretty slimy, so feel free to wash them off in a colander before counting). Kids can compare their estimate to the actual number of seeds inside. Was your estimate greater or less than the actual count of seeds?
Now that you know how many seeds were in the first squash, does it change your estimate for the second squash? Will larger squash have more or less seeds than smaller squash? Will a different color squash have a different number of seeds inside? After cutting open the second squash and counting it’s seeds, compare estimates again. What conclusion can you make about the size of a squash and the number of seeds inside?
For younger kids (like Em’s age), estimation may be a little advanced! We used the seeds for simple counting after we washed them. You could also put the seeds on a baking sheet (slime and all!) and have a fun sensory experience for little ones.
Disclaimer: As with all of our recipes, my suggestions for how kids can help with a particular recipe are based on what has worked in our kitchen. Your child may be able to help more or less based on their age and/or ability. As always, make sure you are properly supervising kids in the kitchen.
 Linda Toonen says
October 20, 2015 at 7:55 AMAwesome, awesome, awesome. I love the “little hands can” and “on the side” sections, not to mention the photography that is better than I’ve seen in the glossy magazines and cookbooks.
 Sally says
October 20, 2015 at 2:07 PMAw, thank you! The photography is challenging, so I appreciate the compliment. The hardest part is finding natural light to shoot in with Miss Em running around!
 Kristy says
October 20, 2015 at 8:49 AMThis looks delicous! We love acorn squash, but haven’t made it this way before. The kids love getting to “scoop out the guts!” I like the estimation idea too.
 Sally says
October 20, 2015 at 2:08 PMThanks, Kristy! Scooping out the guts is really fun! Such great sensory play too. Let me know what your kiddos think if you get a chance to try out the estimation activity next time you make squash. Thanks!
 Carol says
October 20, 2015 at 12:02 PMGreat recipe for kids and adults! I love the math tips as well!
 Sally says
November 2, 2015 at 9:49 PMThank you, Carol!