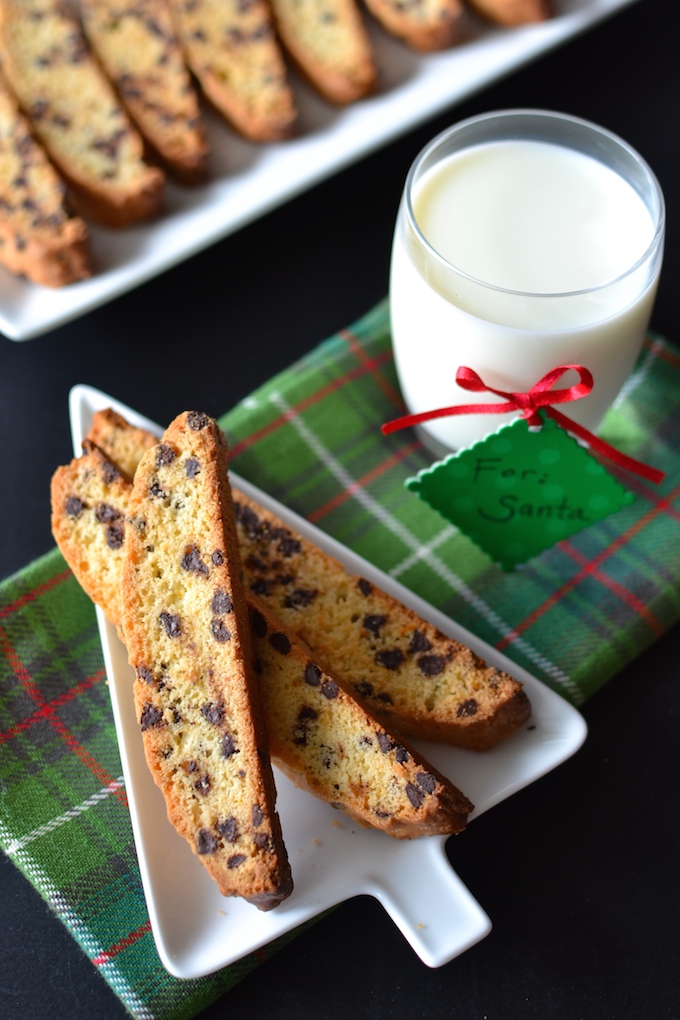
This one is for Santa. He must get his fill of chocolate chip cookies, sugar cookies, and gingerbread cookies on Christmas Eve, so I’m quite sure he’d love to see something a little different on the cookie plate this year next to his glass of milk. A few Orange Chocolate Chip Biscotti and he might just leave an extra gift under the tree to say thanks.
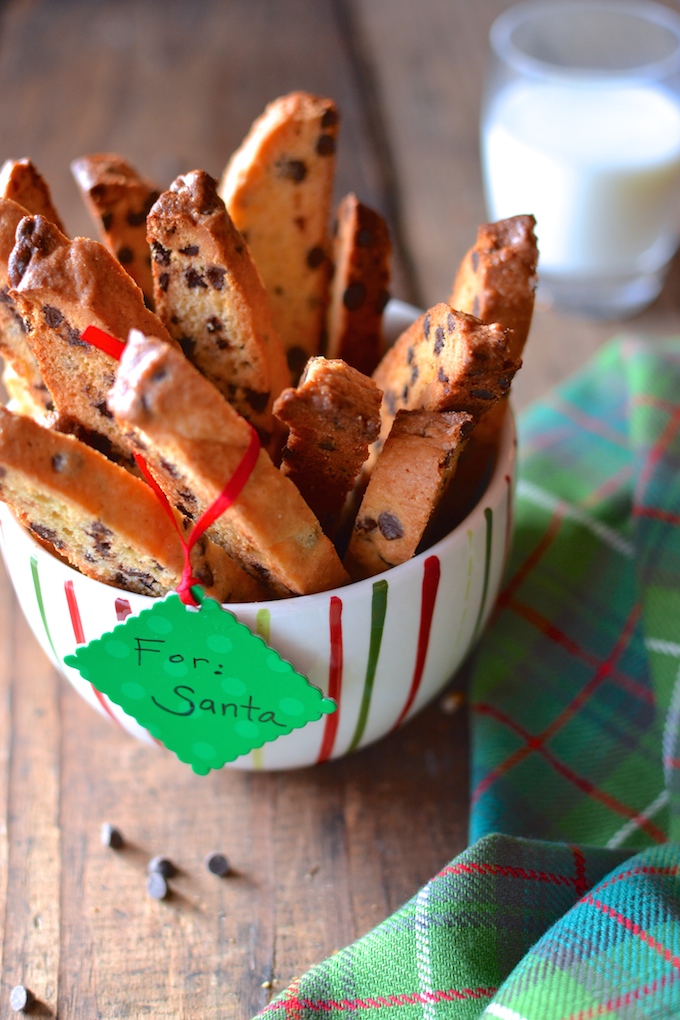
“I don’t like biscotti” is what I often hear people say when I talk about these delicious cookies. Many people think of biscotti as those extremely dry, crunchy rocks that sit in pretty glass containers at your local coffee shop. And what are they, really? Breakfast treats? Or cookies? Perhaps both? If you’ve never tried biscotti before, or think you don’t like them…try these…these Orange Chocolate Chip Biscotti may just change your mind.
And you’ll love to hear that they’re just as easy to make as your average cookie. There is only one extra step…slicing the cookie “loaf” into biscotti and baking them a second time. That’s it. Here’s the breakdown…
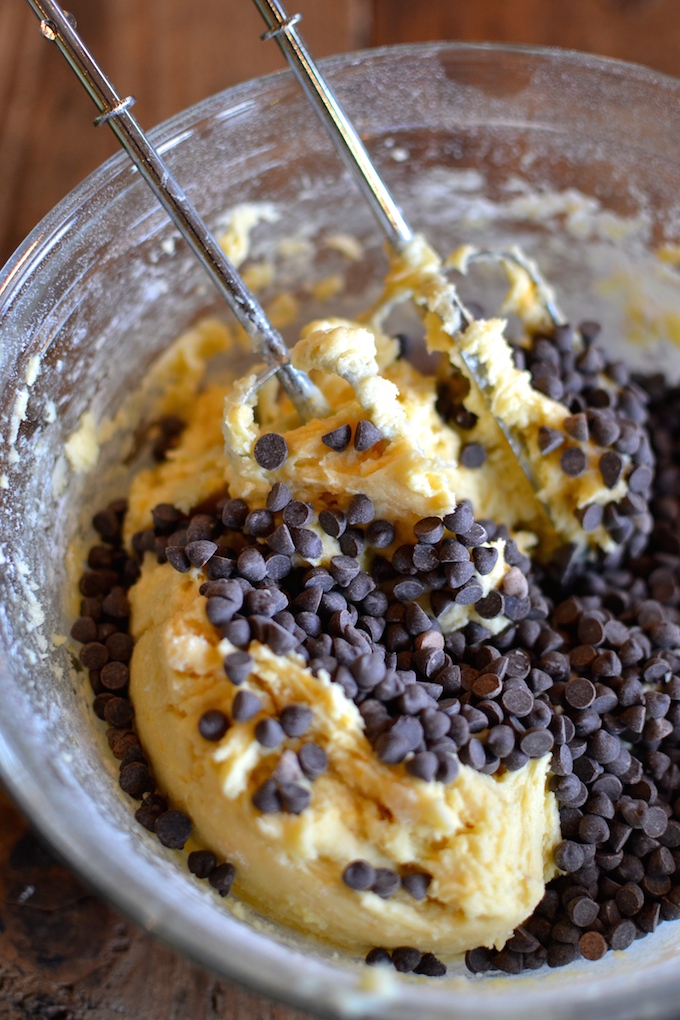
Mix your biscotti dough just like any other cookie dough…
Scoop out all of the cookie dough and place it on the diagonal on your baking sheet…
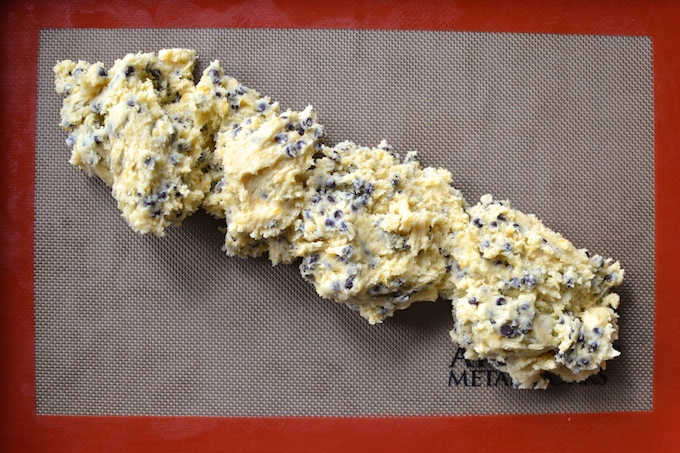
Use your (clean) hands to flatten it out a bit and form it into a loaf-shape that is about 3-4 inches wide by 13-14 inches long…
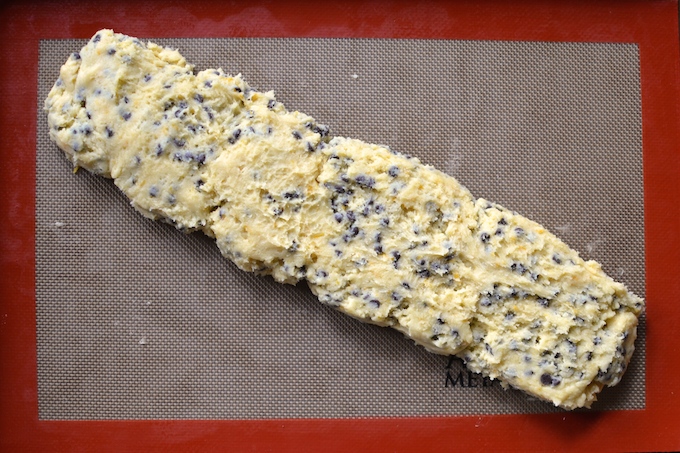
Bake the loaf for about 30-35 minutes until it’s lightly golden…
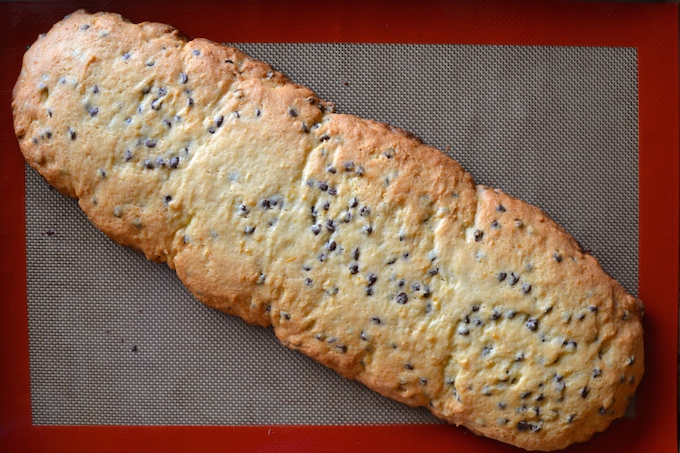
Let the loaf cool and then slice it into individual cookies that are about ½ to ¾ inch wide (serrated knife important here)…
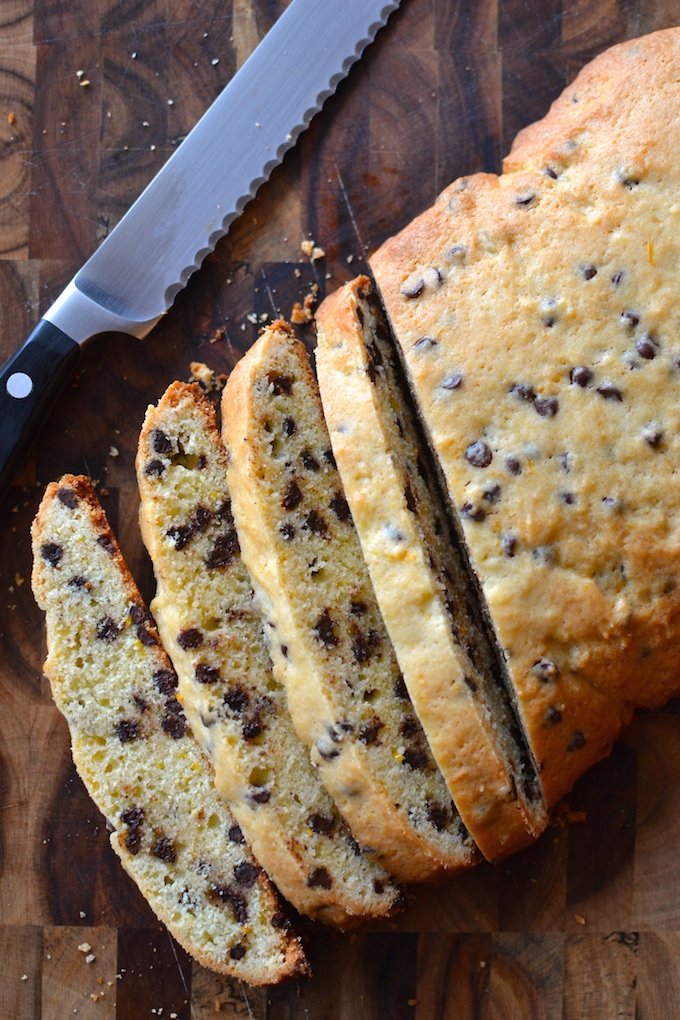
Place the biscotti cookies on the same baking sheet, cut side down, and bake for another 15 minutes…
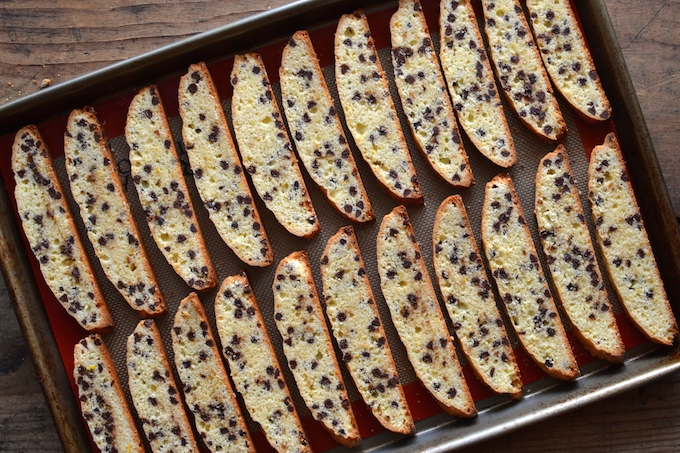
And voilà!
Although I’m usually a soft cookie lover, I’m a huge fan of these crunchy cookies. They are, dare I say, light, and literally melt in your mouth when you dip them in a cup of hot coffee or tea. Which basically gives you permission to have cookies for breakfast.
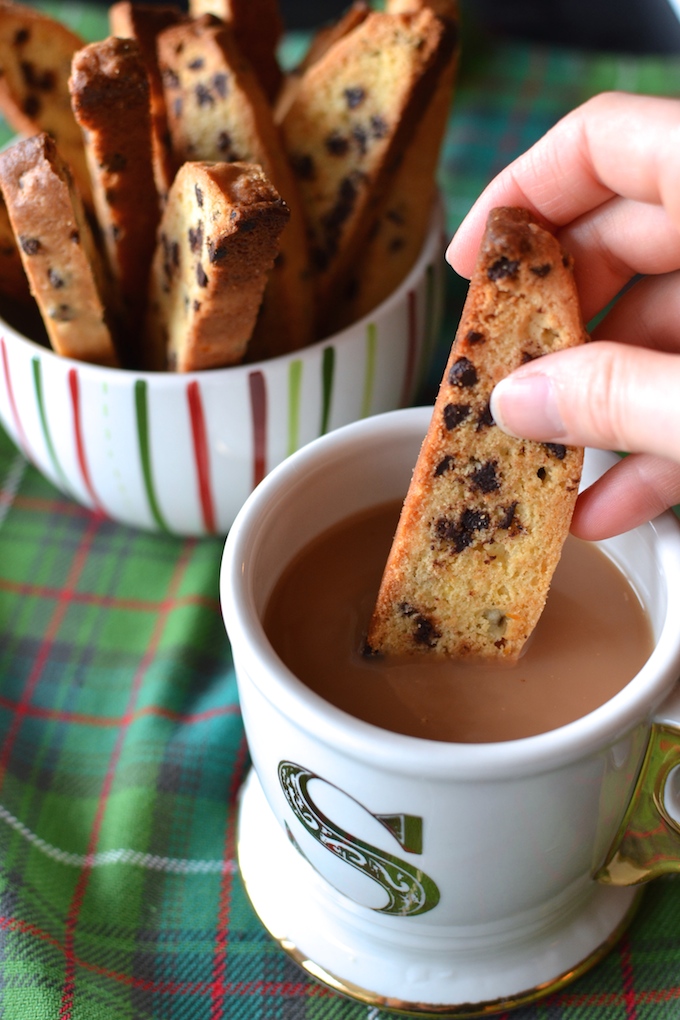
And that combination of orange and chocolate…one of my favorites.
You’re welcome, Santa.
Little Hands Can…
- Measure the wet and dry ingredients
- Crack the eggs into a separate dish before adding them to the mixing bowl
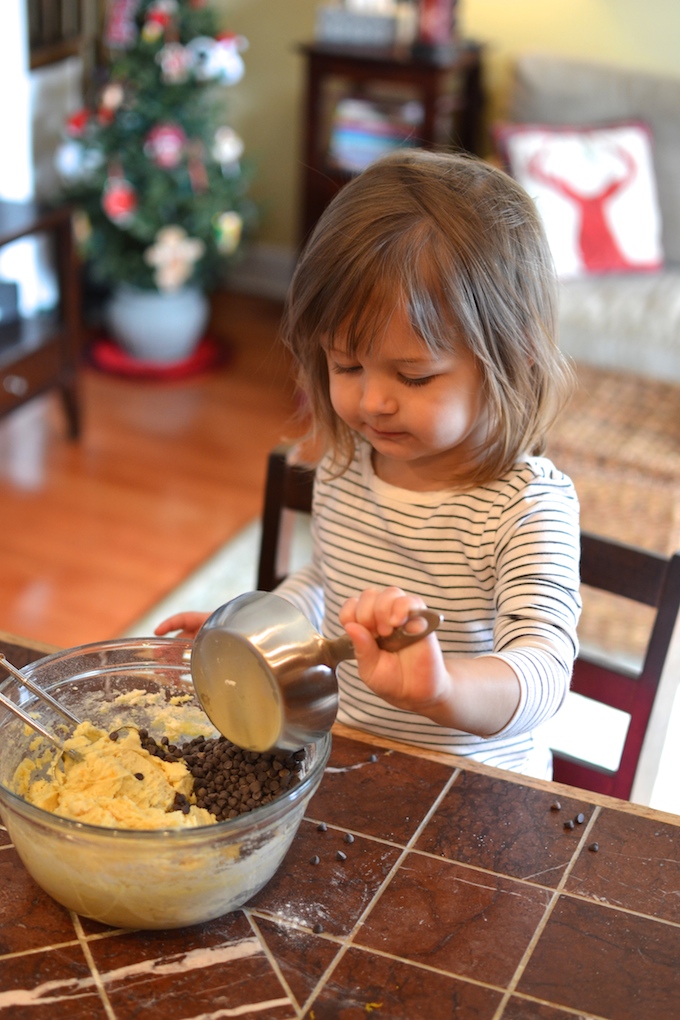
- Stir in the chocolate chips
- Shape dough into a long loaf shape on the baking sheet
- Arrange the cut biscotti on the baking sheet to bake a second time
- 2 cups all-purpose flour
- 1½ teaspoons baking powder
- ½ cup (1 stick) unsalted butter, room temperature
- ¾ cup sugar
- ¼ teaspoon salt
- 2 teaspoons grated orange zest (from 1 orange)
- 1 tablespoon fresh orange juice (from the same orange)
- ½ teaspoon pure vanilla extract
- 2 large eggs
- 1 cup mini chocolate chips
- Preheat the oven to 350 degrees. Line a large baking sheet with parchment paper or a silpat baking liner.
- In a medium bowl, whisk together the flour and baking powder. Set aside.
- In a large bowl, combine the softened butter, sugar and salt. Add the zest from the orange and then squeeze one half of the orange into the bowl (about 1 tablespoon fresh juice). Using a handheld mixer, or stand mixer, beat the ingredients together until combined and fluffy. Add the vanilla and beat to combine. Then add the eggs, one at a time, and beat until combined after each egg.
- Add in the flour mixture and beat until the dough is just blended. Then fold in the mini chocolate chips with a spatula.
- Scoop the dough out and place it on the diagonal onto the prepared baking sheet (see pictures above). Use your hands to flatten and shape the dough into a loaf that is 3 to 4 inches wide by 13 to 14 inches long. Bake the loaf until it is a light golden color, about 30-35 minutes at 350 degrees. Let the loaf cool on the baking sheet for 30 minutes.
- After 30 minutes, move the loaf carefully to a cutting board. Using a serrated knife, slice the loaf on the diagonal into individual cookies that are about ½ to ¾ inch wide. Place the biscotti cut-side down on your baking sheet. Bake the cookies for an additional 15 minutes at 350 degrees, or until they are lightly golden. Transfer the cookies to a cooling rack to cool completely.
Recipe inspired by Giada de Laurentiis’ Holiday Biscotti
On the Side
It’s the holidays, so we’re using our oranges from this recipe to make Pomanders! Never heard of a pomander? They’re sweet and fresh and smell like the holidays!
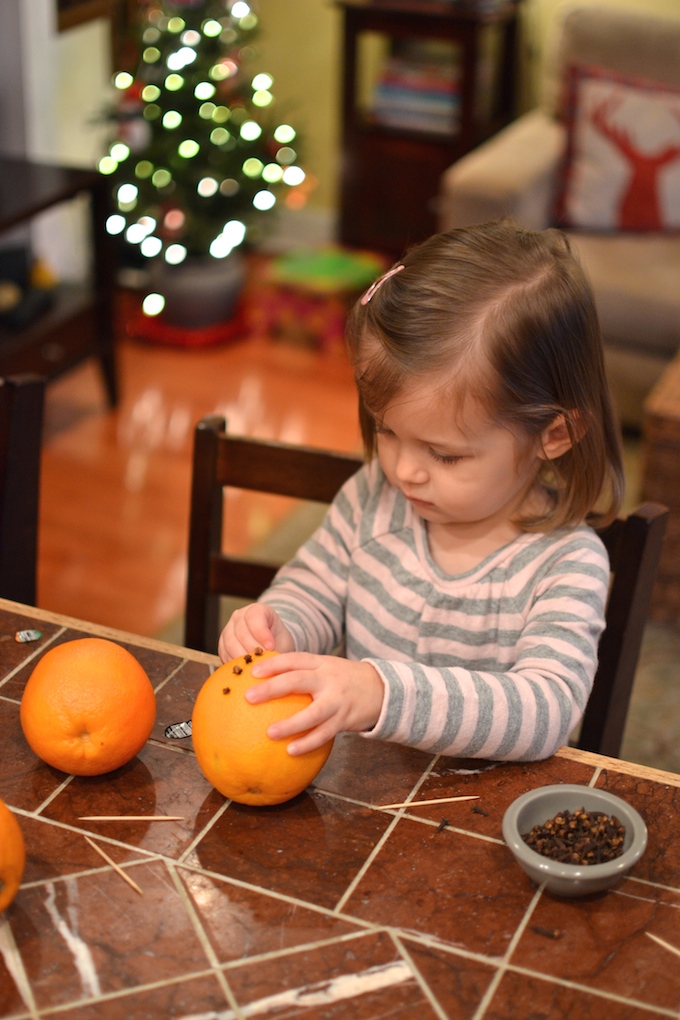
A pomander is a piece of fruit, usually an orange or an apple (but lemons or limes would work as well), that is studded with cloves and used as an air freshener or decoration. The pomander became popular in the Middle Ages when it was used to mask odors. Both men and women wore pomanders and they were popular among the upper class; even Queen Elizabeth I is depicted wearing one in many pictures. Nowadays, pomanders are made as gifts for Christmas or New Years, and are often used as decoration or as natural air fresheners.
To make a pomander with your kids, you’ll need…
- fresh oranges (or lemons or limes or apples)
- whole cloves (I buy mine in a bulk bag at a small local grocery store; they’re less expensive than buying a jar at a major grocery store)
- toothpicks
- ribbon or twine for hanging the pomander, if you choose
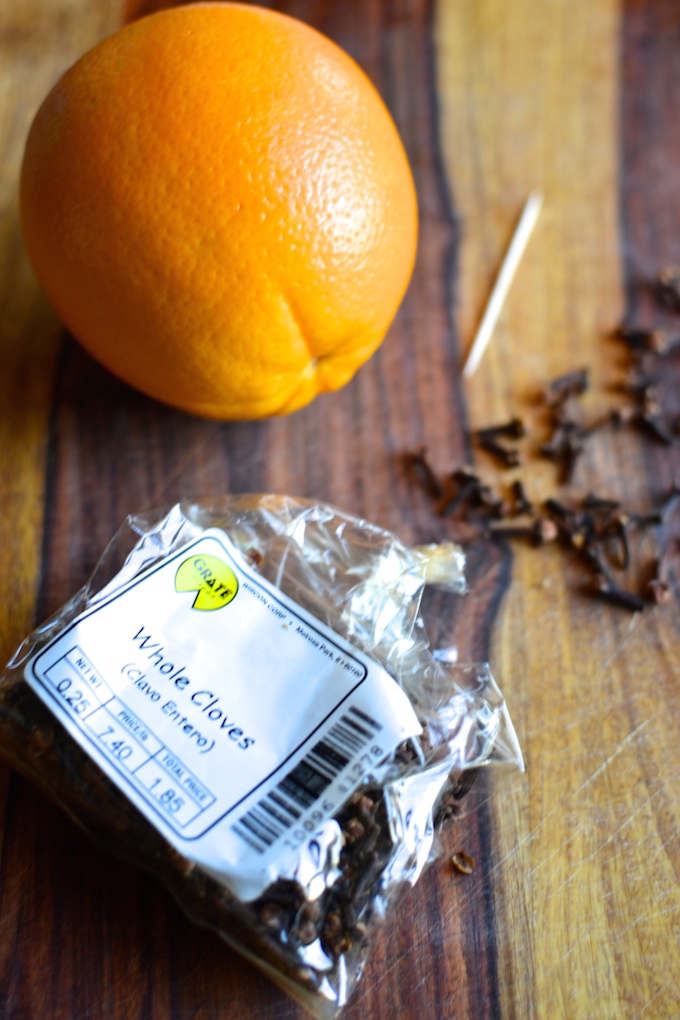
Wash and dry your oranges. Using your toothpick, make small holes in your orange (usually a few at a time works best, or else you may forget where the holes are) and push one clove into each hole. You can make whatever design you choose. Little ones may need help using the toothpick safely and pushing the cloves into the orange. Take care as sometimes the cloves can be sharp as well.
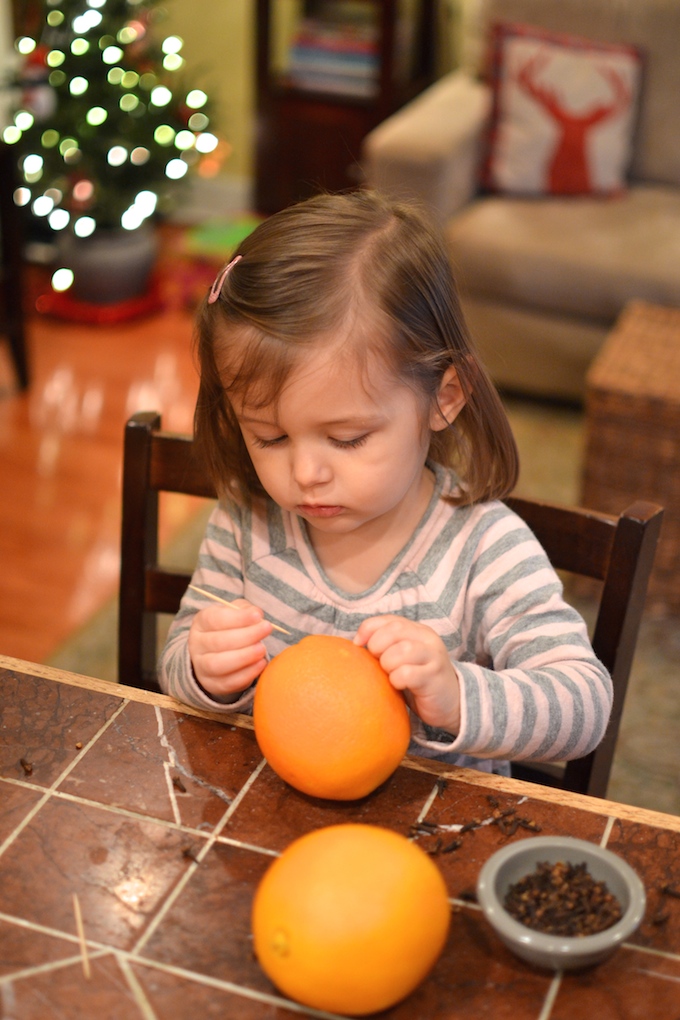
In my research on making pomanders, some sites suggested rolling the finished pomanders in a spice mixture, so they give off an even spicier holiday smell.
When you’re finished you can…
- Hang them to dry in a cool, dry place using ribbon or twine (this will help keep the oranges from molding). Other sites suggest rolling them in orrisroot powder to preserve the oranges.
- After drying, give them away as gifts. Completely dry pomanders will keep for many years and will still smell wonderful.
- Display them in a bowl (which is what we’ve done) for a few days. After a few days, the oranges may start to mold, so then you’ll need to throw them away.
- Put them in a large pot with some warm apple cider to give extra flavor to the cider (I think we’ll try this after a few days of enjoying the nice smell of our pomanders on display).
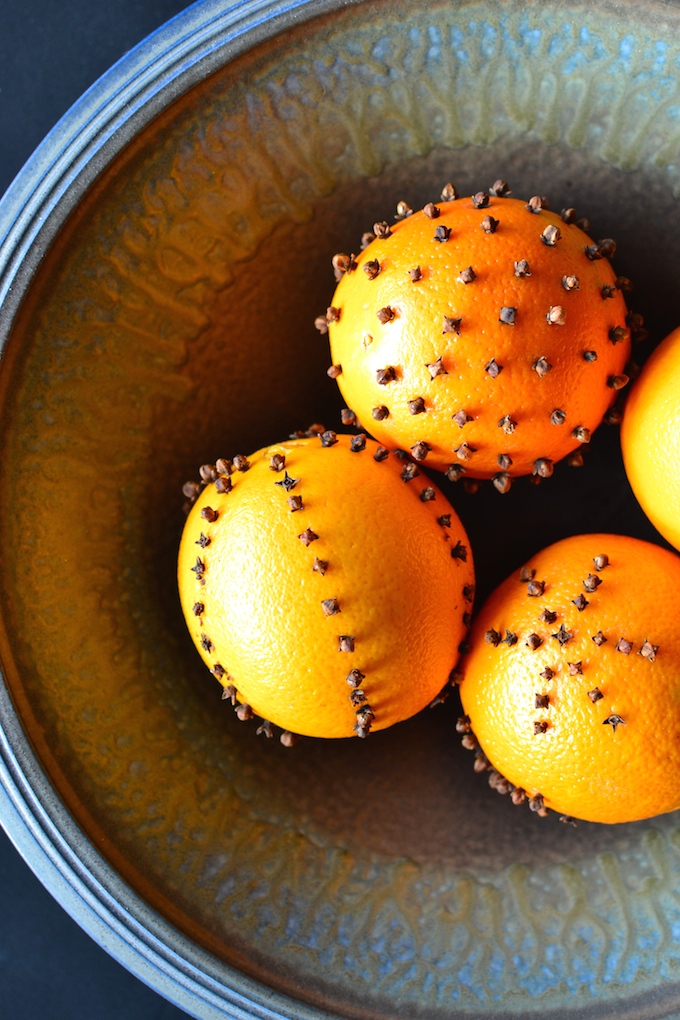
For more information, I really like the tutorial on making pomanders that I found on Simple Bites and her photography is beautiful. She also has a recipe for Pomander-Spiced Orange Jam on her site…yum!
Disclaimer: As with all of our recipes, my suggestions for how kids can help with a particular recipe are based on what has worked in our kitchen. Your child may be able to help more or less based on their age and/or ability. As always, make sure you are properly supervising kids in the kitchen.
 Carol says
December 19, 2015 at 7:19 AMHi Sally,
What a wonderful and easy (I hope) recipe! Thanks for sharing it. I am going to try it. Em looks very engrossed making pomanders. What a great tip. Merry Christmas to all!
 Sally says
December 23, 2015 at 2:06 PMI hope you like the biscotti! Thank you, Carol!